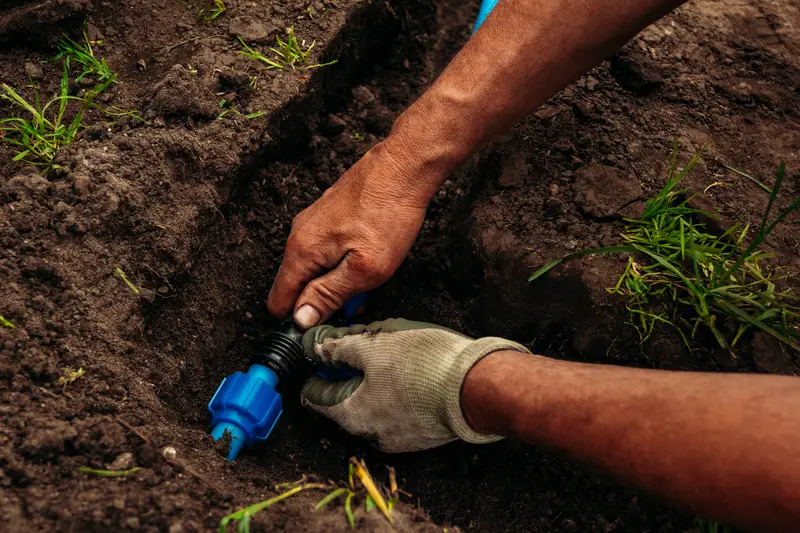
Drip irrigation is a system that delivers water more efficiently than any other type of irrigation. No doubt, drip irrigation is a great tool for growing a healthy garden. Also, it’s easy to remove the fittings and reuse them throughout the year.
As you are reading this, chances are you need to know the proper way to remove drip irrigation fittings. Maybe you are already facing some problems with this or as a newbie, you need to grow an idea.
Well, if the case is this, no need to worry. We are going to share the easiest answer of ‘how to remove drip irrigation fittings’. So, stay with us to the last to know the ins and outs of this topic.
Let’s go!
As an Amazon Associate, I earn from qualifying purchases.
Why You Need to Remove Drip Irrigation Fittings?
You may be conscious of the importance of drip irrigation. Such as how it allows to conserve water, to water more efficiently, and also reduce diseases by reducing leaf moisture. So, it’s important to be careful about all the maintenance.
You have to remove it when your crops are done, or you don’t use drip irrigation this year, or small leaks occur. In these cases, you need to remove drip irrigation fittings.
Types of Drip Irrigation Fittings
To know the process of removing drip irrigation fittings, you need to know the types of fittings first. Because there are individual ways to remove them, some are very easy, some are difficult.
Compression Fittings
These fittings are designed for easy connections without the use of glutes or clamps. Generally, compression fittings are made from durable plastics. These durable plastics are designed to provide years of fault-free, faithful performance.
How to Remove Compression Fittings?
Well, if you wiggle the fitting side to side while pulling, you can get it to step itself off the irrigation tube. Yes, this is viable for all sizes of these type push-in irrigation compression fittings.
The tube itself might not reseal if you push another fitting on, but the fix is simple for the tube, cut off the marred surface or push on a little further. Since the fitting is made of a harder plastic than polyethylene tube or drip lines, it comes out of the equation pretty unscratched and reusable.
Barbed Insert Fittings
Insert fittings are designed to fit black polyethylene irrigation tubing or potable water tubing for wells (very snugly). Manufacturers have tried for years to make these fittings easier for installing and ultimately more affordable.
How to Remove Barbed Insert Fittings?
Removing barbed insert fittings is not as simple as compression fittings. To do this, you have to go through 3 easy steps.
But before we start, let’s know what you will need to do this:
- Utility knife
- Flat-head screwdriver
- Hot water
- Radiator hose pulling tool (optional)
Now, let’s see what steps you will walk through:
Step 1
Firstly, locate a screw holding the clamp over the tubing. Then, insert a flat-head screwdriver. Now, turn the screw counterclockwise until the tubing clamp slides freely. Lastly, pull the clamp down along the tubing away from the fitting.
Step 2
Use a utility knife to cut the tube. Now, you need to cut it lengthwise where it attaches to the barbed insert fitting. Remember, you can do this only if you don’t plan on reconnecting the tubing.
In case, your plan is to reconnect the tubing to the fitting, swipe to the step 3.
Step 3
Now, soak the tubing in burning hot water. In case, the tubing is in such an area where the use of water is not possible, you can simply heat the hose with a hairdryer. Start twisting the tube back and forth until it pulls off of the fitting.
Why is the heat needed? Well, it will help to expand and soften the tubing until it can be pulled off the fittings. Or, you just can simply use a radiator hose pulling tool if you want. Worth mentioning, don’t ever remove a fitting when the hose is under pressure.
Power-Loc Fittings
Power-Loc fittings are quickly revolutionizing fitting expectations worldwide. A more rugged alternative to insert and compression, this power-lock fitting has a locking mechanism that is easily tightened after embittering or blank tubing is pushed on.
How to Remove Power-Loc Fittings?
So, removing this one is pretty easy like the compression fitting. All you need to do is to hold the top part of the fittings with index and middle finger. Then, you have to pull down, it takes some pressure. Usually, you should pressurize with one hand and hold the tube with the other hand. Then twist until the fitting comes free.
As you do this over and over again, you should notice the part of the tube that is attached to the fitting, will be damaged day by day. After installing and removing the fitting for a couple of times, if you see that part is about to break, you can cut a section of the tube (that about-to-break part).
Frequently Asked Questions
Question: What can I do if I want to reconnect the tubing to the fitting once I remove the fitting?
Answer: In this case, we forbid the use of any kind of heat. You have a water-soluble lubricant on the tube.
Question: Why do the leaks happen? Is fittings liable for this?
Answer: Well, leaks happen in a variety of ways for a variety of reasons. The fittings may have failed, it’s a rare case. Generally, this occurs if the joint of pipes/tubing does not seem well.
Conclusion
So, we are done, that’s all we kept for you. Hopefully, by reading this article, how to remove drip irrigation fittings is not a big question for you. We tried our best to give you concise information and we hope that we did it.
Do not ever forget about the safety precautions. Do every step very carefully (mainly when you are going to use a knife). Try to take extra care of the irrigation system because it’s the core of your cultivation.
Wish you good luck.